How Foxxfyre Colors
Because of so many requests, I have created a section on how I color my Serians. Before the coloring process, I have already created the outline. Here are a few details about that:
- I draw the outlines by hand in my spare moments or when inspired.
- I first draw them with a mechanical pencil and then I 'ink' the drawing, which is basically just drawing over the outline in a fine point inking pen. I recommend any inking pen that is non-bleeding and archival quality.
- I then erase the pencil markings and scan the image into the computer. 300 dpi is reccomended for high quality, but for the internet, 72 dpi is just fine, and it's what I use.
- The program I use to color is Macromedia Fireworks MX 2004, which you do have to purchase for quite a bit of money, but many many other coloring programs would also be able to do this, some of which are free or practically free.
For this tutorial, we're going to use this outline of Ash:
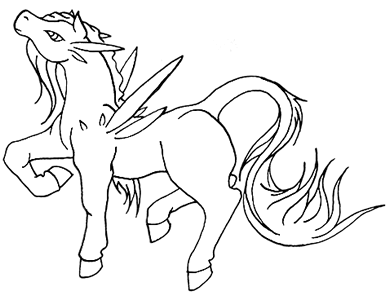
After loading the outline, I simply use the fill tool to add the basic coloring:
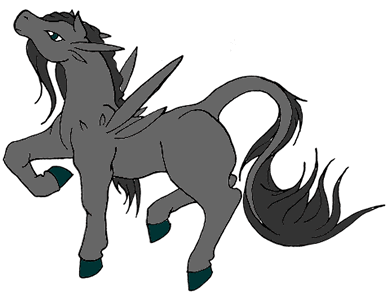
Since I decided to add some details to the coloring (which I don't always do...) I then used the selection tool to select the white space around the image, and then inverted it, so that the image was selected. If you don't know how to select the image, you can still follow the next steps successfully, you'll just have a little more mess to clean up.
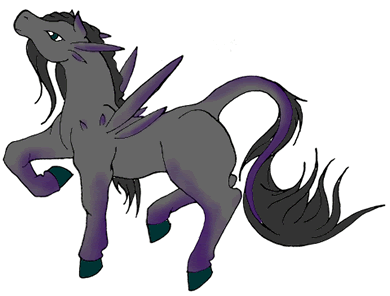
I then take the regular brush tool, turn the transparency of it down to about 5% - 13%, depending on how it looks, and then I add the details, in this case purple points:
After this, it's time to add the shadows. I take the brush tool and change the color to black. I add shadows to the image, trying to logically place them where they would be if there was a light shining from a certain point I choose (this is called a light source). The transparency of the brush should always be between 5% and 13%.
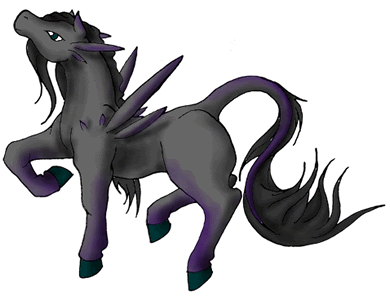
Of course, after adding the shadows, I need to add the highlights. Keeping the same light source as with the shadows, I take the brush tool, change the color to white, and add the highlight to the image. Some of the key areas most people forget to highlight that really add to the finished creatuure are on the cheekbone right under the eye, and underneath the belly, which always is lighter on the very edge due to reflected light.
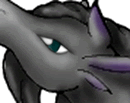
Nothing ever looks like it will end up looking good until I color the eye, which I do next. Basically, I follow the same steps as I did to the body, except on a much smaller scale, paying attention to make sure the eye looks reflective. When you add the shadows, usually it looks way too dark until you add the highlights, and then it looks just right:
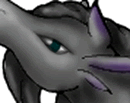

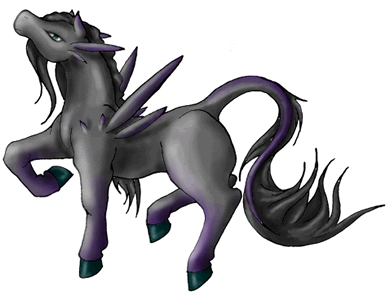
The image still looks really rough, however.... this needs to be fixed! So I take out the handy little blending brush to fix things up. I then blend the outline to get rid of the rough edges:
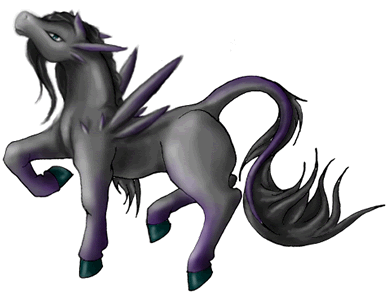
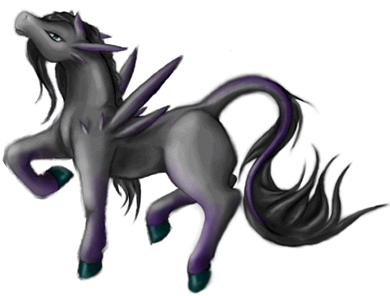
This leaves it much smoother, but still there is the mess to take care of. So I simply take the white pencil tool (or the brush tool at 100% opacity, 1 pixel in size) and erase the parts that I don't want, refining the outline to exactly how I want it.
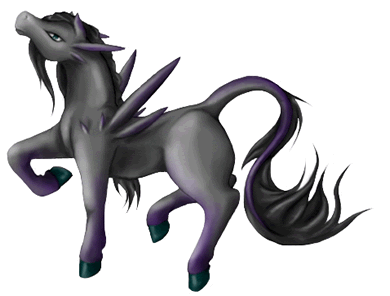
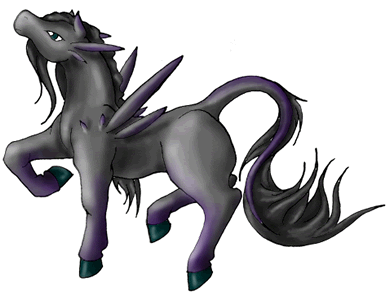
This is pretty nice, but there are still a few details to fix up with the blending tool, such as creating the shine on the tail. To finish up everything, I add that and make the coat a little bit smoother:
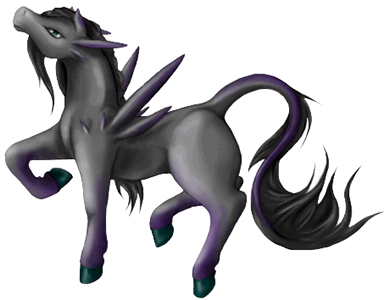
And she's done! Ash is complete, and I get to start coloring the next Serian. Hope this helped! If you have any further questions, feel free to ask on the forums, in the Help section :)


